


TABLE OF CONTENTS -:
📌Introduction to the Project
📌Set up an RDS instance
📌Launch an EC2 instance
📌Install and configure Apache httpd
📌To Install and configure WordPress
📌Test the website
📌Conclusion
INTRODUCTION
Looking to create a website or blog but don’t know where to begin? AWS (Amazon Web Services) provides a variety of services and tools that can help you build and deploy your website easily and flexibly. One of the most widely used web applications that can be run on AWS is WordPress, a powerful and widely used CMS. In this project, I will guide you through the step-by-step process of deploying a 3-tier WordPress application on AWS, utilizing user-friendly services such as EC2 and RDS. Upon completion of this guide, you will have a working WordPress site hosted on AWS, and the knowledge and confidence to customize and manage it according to your preferences.
A project of launching an EC2 instance, installing a webserver of Apache, installing PHP code to run WordPress, and connecting it to a database on AWS.
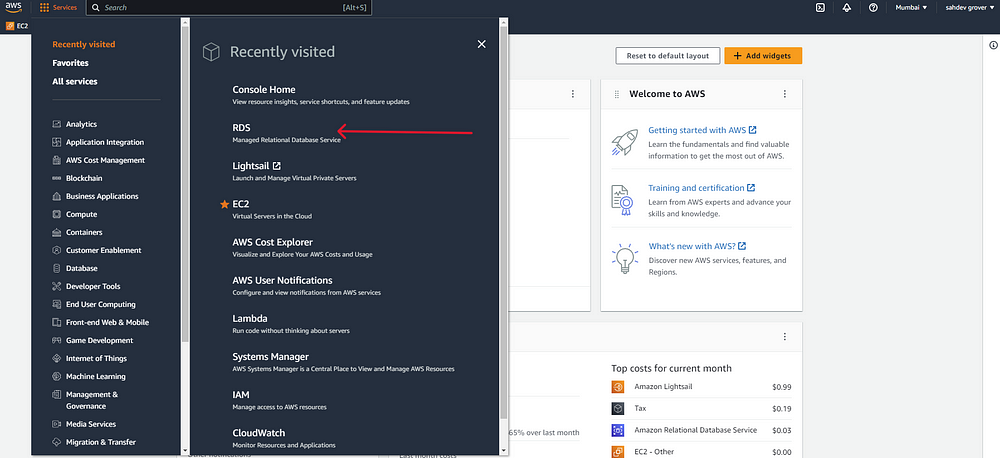
To set up an RDS database for your 3-tier WordPress application, follow these steps:
1. Log in to the AWS Management Console and navigate to RDS.
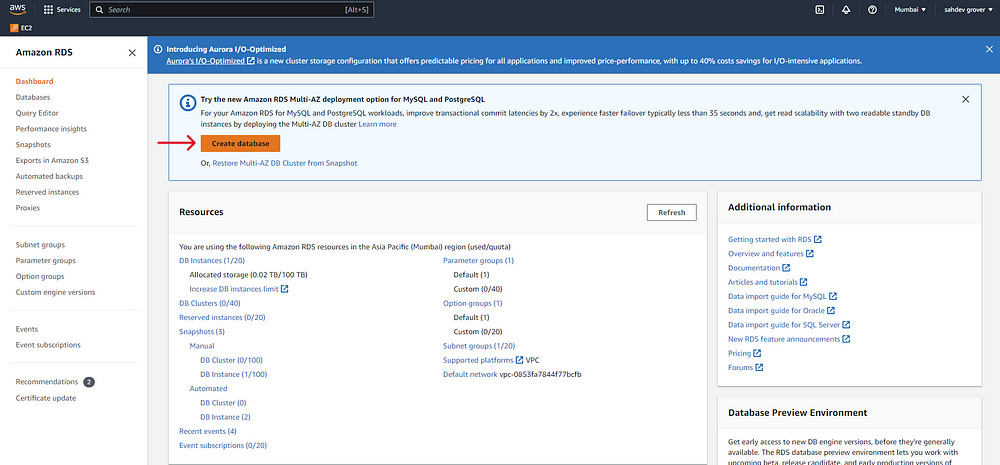
2 . Click on “Create database”
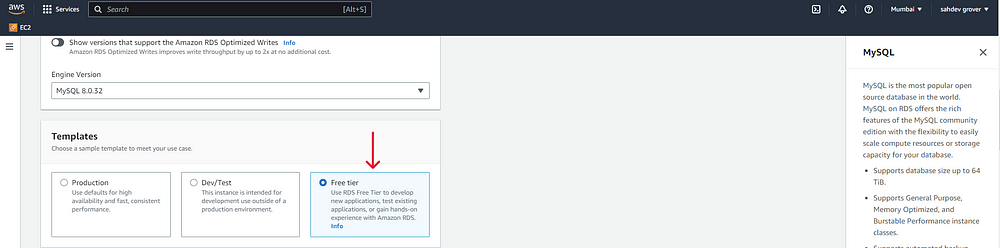
3. Choose the database Creation method and the database engine you want to use (such as MySQL, PostgreSQL, Oracle, SQL Server, MariaDB, or Amazon Aurora).
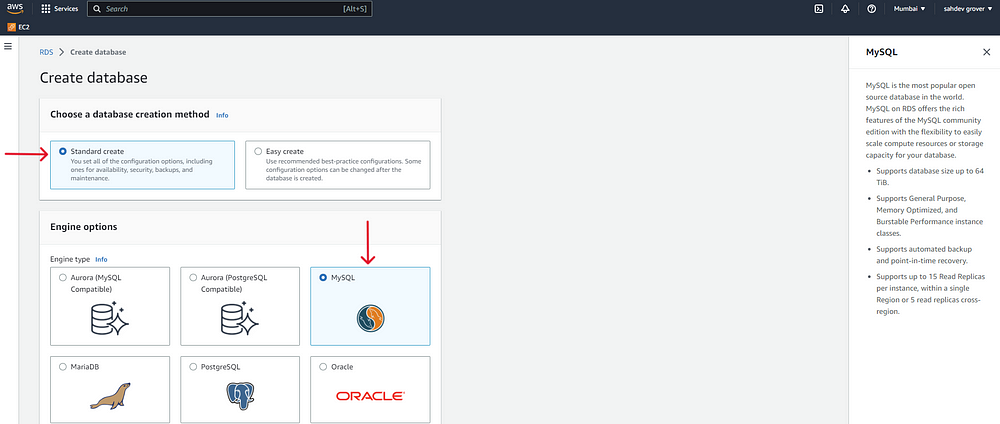
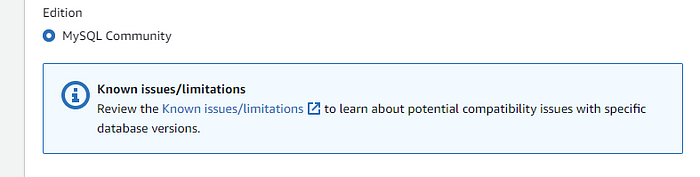
4. Select the version and edition of the database engine you want to use.

5. Choose the templates you want to use for the database.
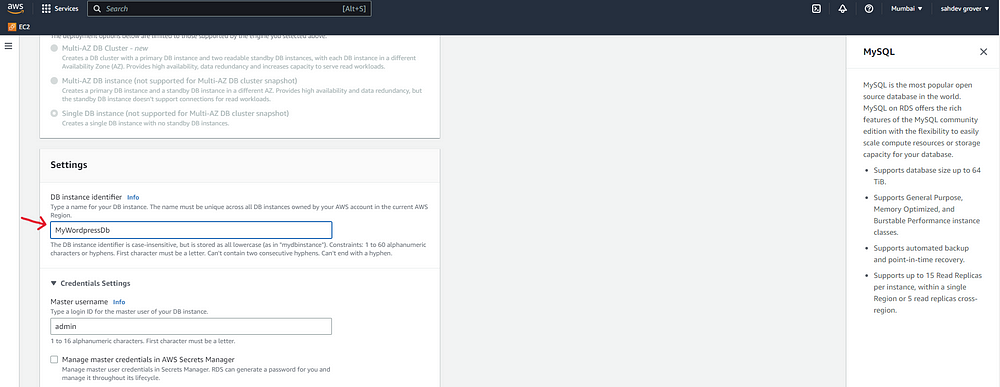
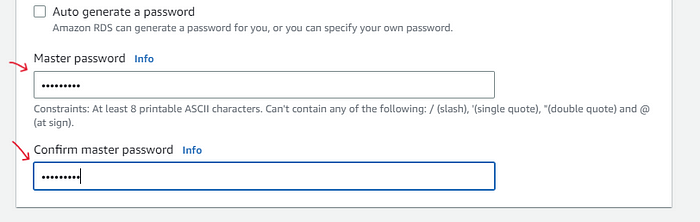
6. Configure the database settings such as the database name, username, and password.
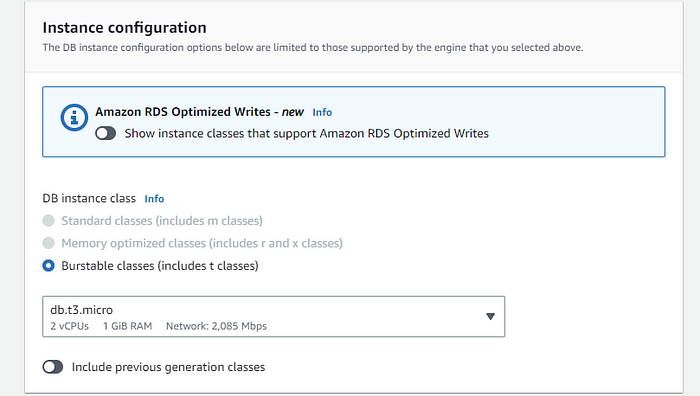
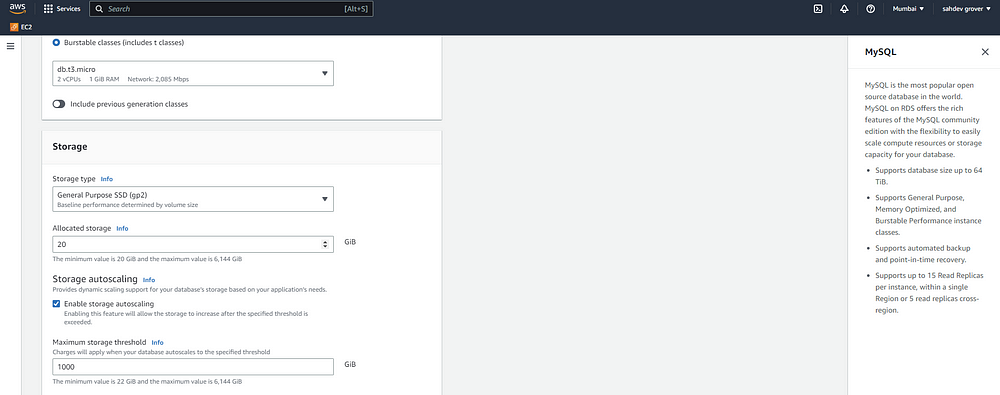
7. Choose the appropriate instance class based on your performance and storage needs.
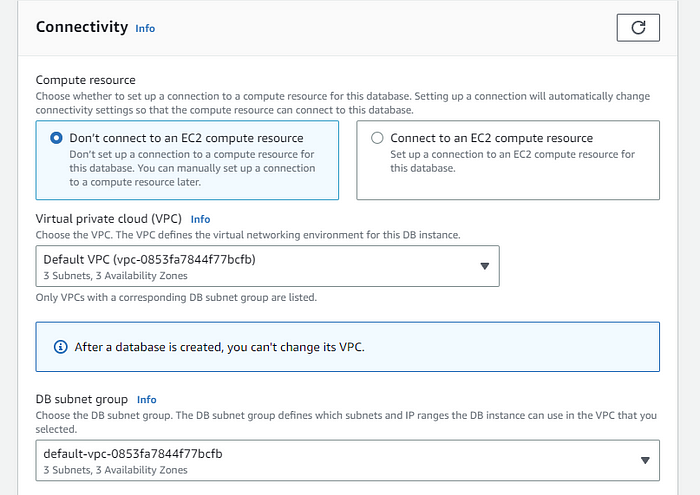
8. Select the appropriate VPC and subnet group to launch the database in.
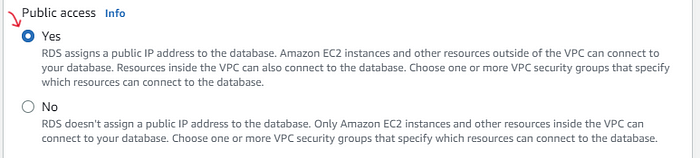
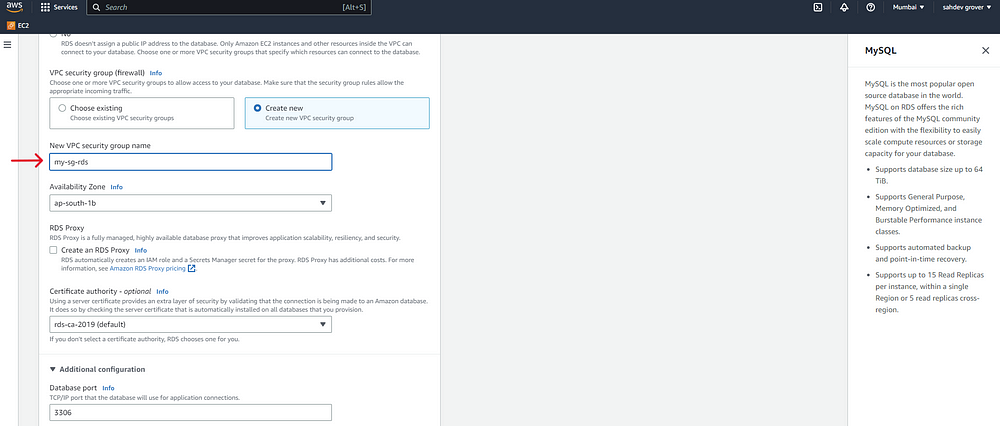
9. Configure the database security group to control access to the database.
10. Click on Create Database.

Review and confirm the settings, then launch the database instance.
AFTER YOU CREATED YOUR DATABASE.
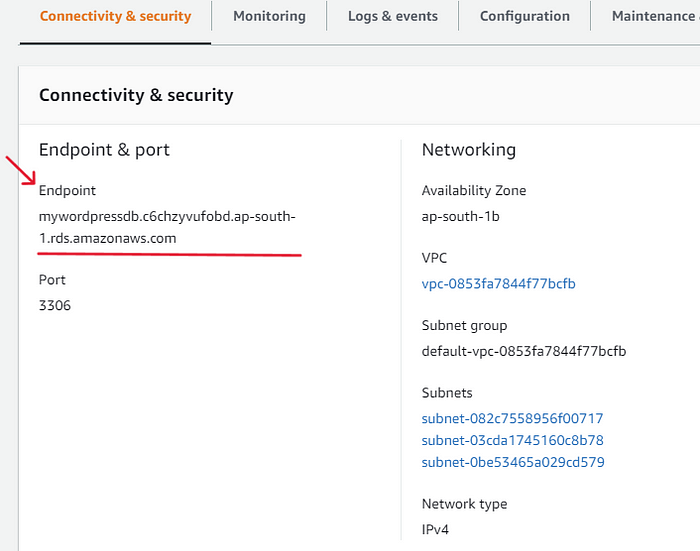
CLICK ON IT AND YOU WILL GET THE BELOW DETAILS FOR YOUR DATABASE CONNECTION.

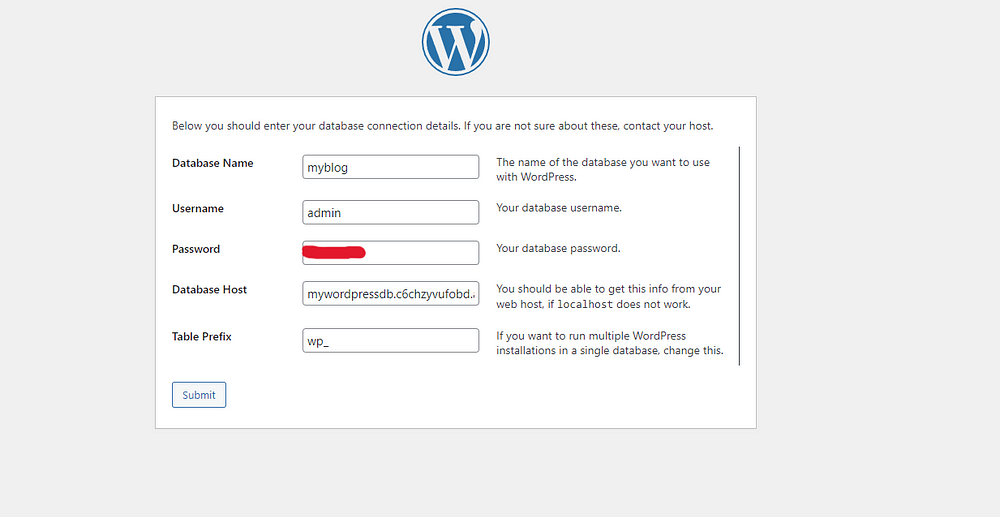
✅DB_NAME — your_database_name
✅DB_USER — your_database_username (MASTER USERNAME)
✅DB_PASSWORD — your_database_password (MASTER PASS.)
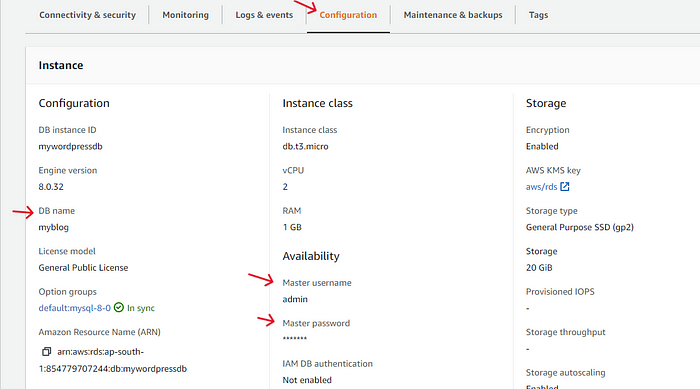
✅DB_HOST — your_database_endpoint_url
Deploy a WordPress website on an Amazon EC2 instance.
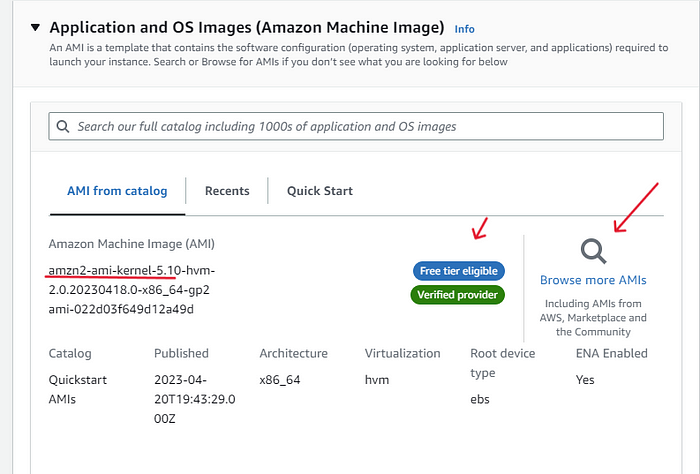
step 1. Launch an EC2 instance using Amazon Linux -2 AMI
Log in to your AWS Management Console.
Click on the “EC2” service to open the EC2 Dashboard.

Click the “Launch Instance” button.

Give the name/tag to your instance

Choose an Amazon Machine Image (AMI) from the provided list. This is the operating system for your instance.
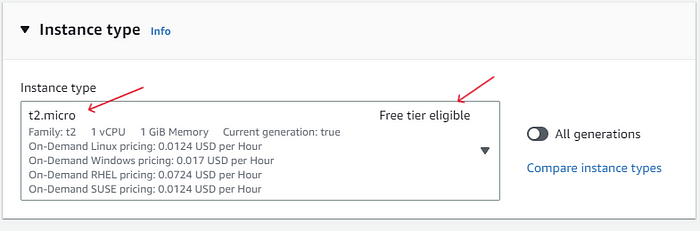
Select an Instance Type. An instance type determines the hardware of the host computer that AWS will allocate to your instance.
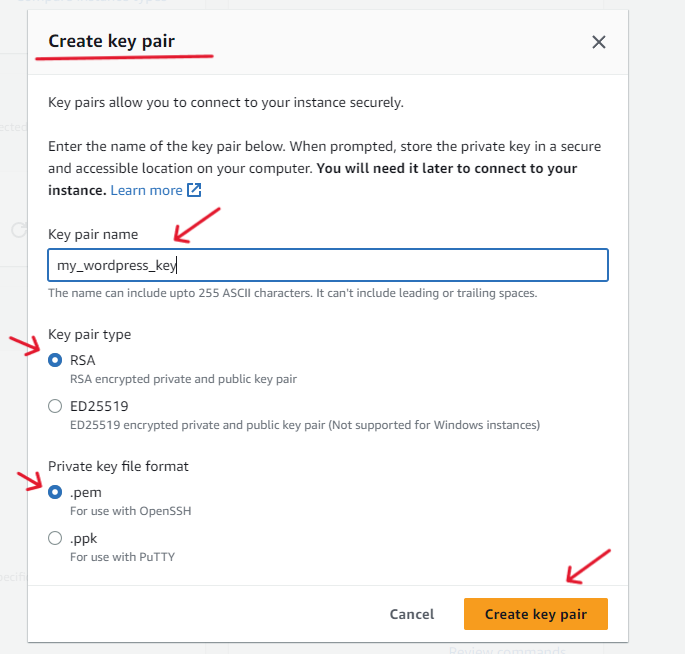
Select a key pair, and for that Create a key pair and download it to your computer. This key pair is used to authenticate your instance and give you access to it via SSH.
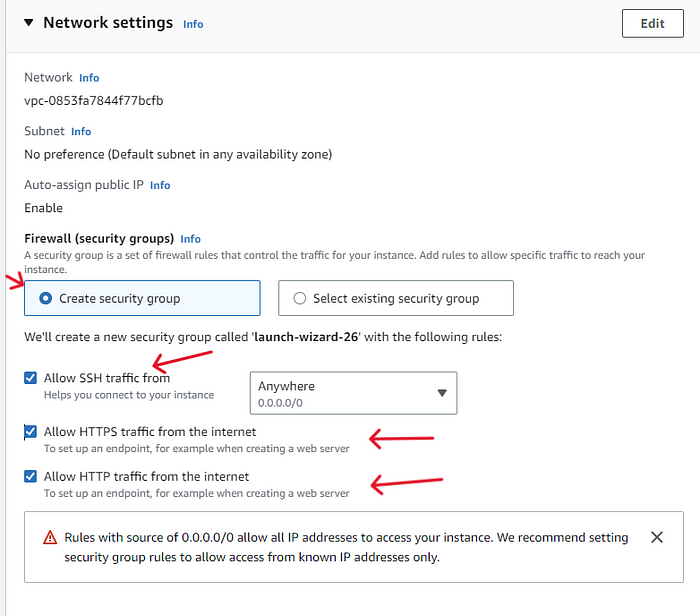
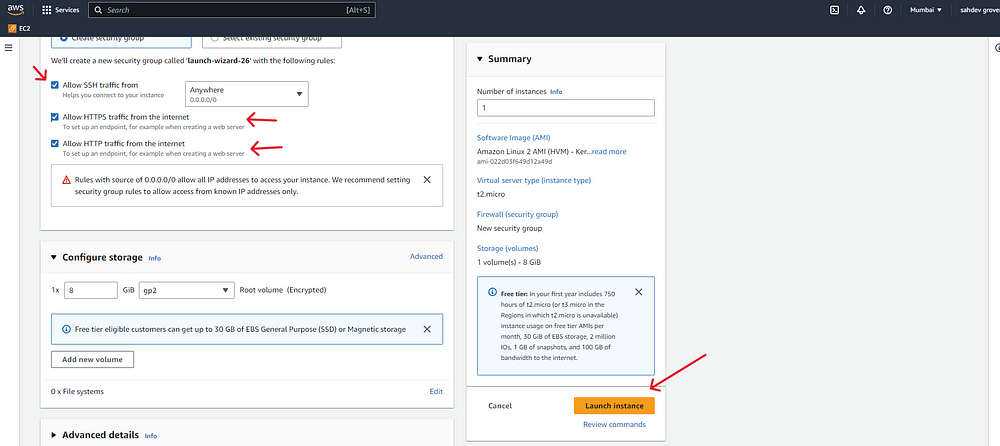
Configure Instance Details such as Network, subnet, security groups, and storage. Configure the Security Group settings to allow traffic to your instance. By default, a security group is created that allows SSH access from any IP address. However, you can customize this to fit your needs.
Review and Launch the instance. Here, you can review the settings you have chosen for your instance. If everything looks good, click on the “Launch” button.
Your instance will now be launching.
It may take a few minutes for your instance to launch
after your instance launch, you connect your instance
Click on the instance you want to connect and apply to connect

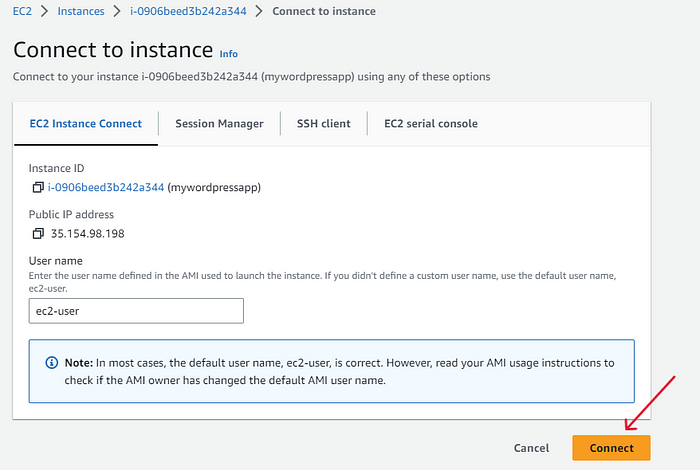
After connecting to the instance, you will come to the terminal.
NOW,
Follow the below steps
Step 2: Install and start the Apache httpd web server.
# yum install httpd -y
# systemctl enable httpd — now


Step 3: Go to the Apache web server web page location and download WordPress and extract it.

write this command, you can get this one from the WordPress downloads
your files will be extracted using this command

Step 4: Copy all WordPress contents in the Apache httpd web page location.

Step 5: Make Apache owner for all WordPress content.


Step 6: Download Php for running WordPress.
Write this command to install the php7.2 version


Step 7: Edit inbound rules which enable traffic to the RDS instance.
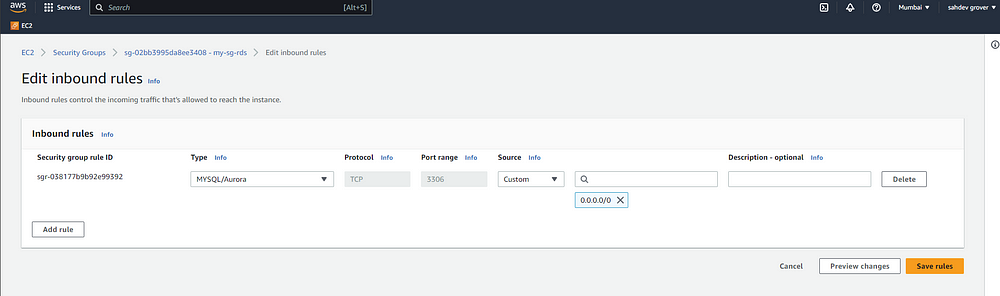
Then finally restart the httpd service by using the command given below.

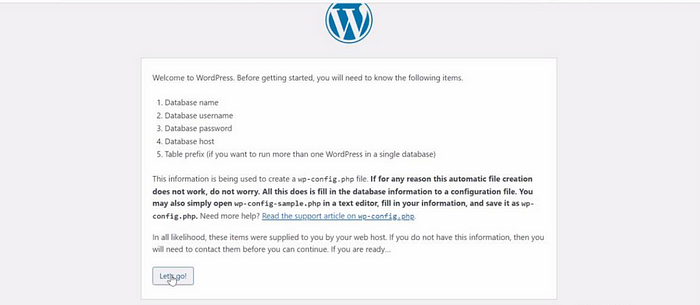
Now you can access the WordPress installation page by navigating to your EC2 instance’s public IP address in a web browser.
Follow the on-screen instructions to complete the WordPress installation.
ENTER YOUR DATABASE CONNECTION DETAILS
(THIS, WE HAVE SEEN ABOVE)
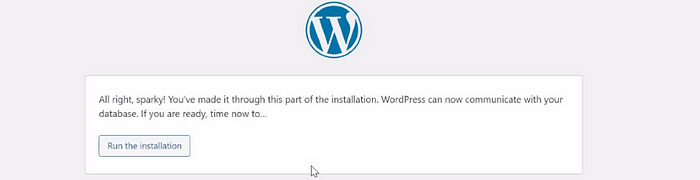
CONGRATULATIONS YOU’VE MADE IT!🎉
CONCLUSION
Congratulations on successfully deploying your WordPress website on AWS!
AWS offers a wide range of services and tools that can help you build, manage, and scale your website. In this guide, I have provided a step-by-step explanation of how to deploy a 3-tier WordPress application on AWS. Now that you have this knowledge, you can customize and manage your website on AWS based on your preferences.
However, building and deploying a website on AWS is only the beginning. Keep learning and exploring AWS’s vast array of resources, including tutorials, documentation, and support forums, to continuously improve and optimize your website for reliability, scalability, and security.
Your support and feedback are immensely appreciated. If you have any questions, please feel free to share them in the comments below.
Lastly, if you would like to connect with me on LinkedIn to continue the conversation or to learn more about my experience with this project, you can find my profile at linkedin.com/in/sahdevgrover